Hello Sweeties!
Today I have four DIY gift ideas for any occasion. These gifts where given as Christmas presents, so I had to wait to post them.
The Mug:
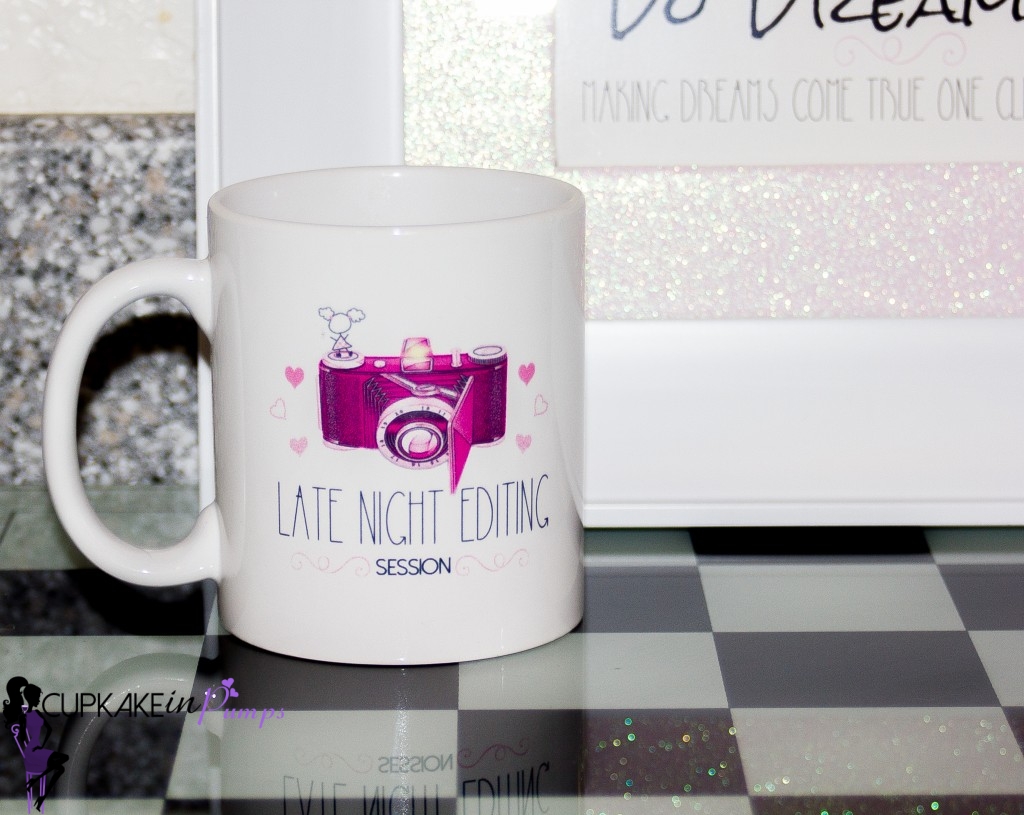
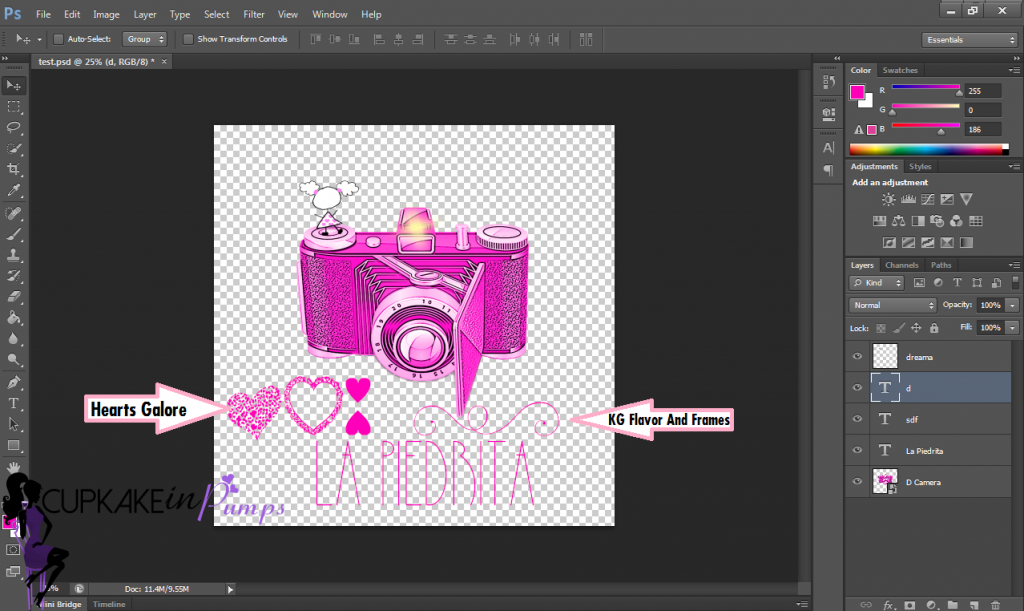
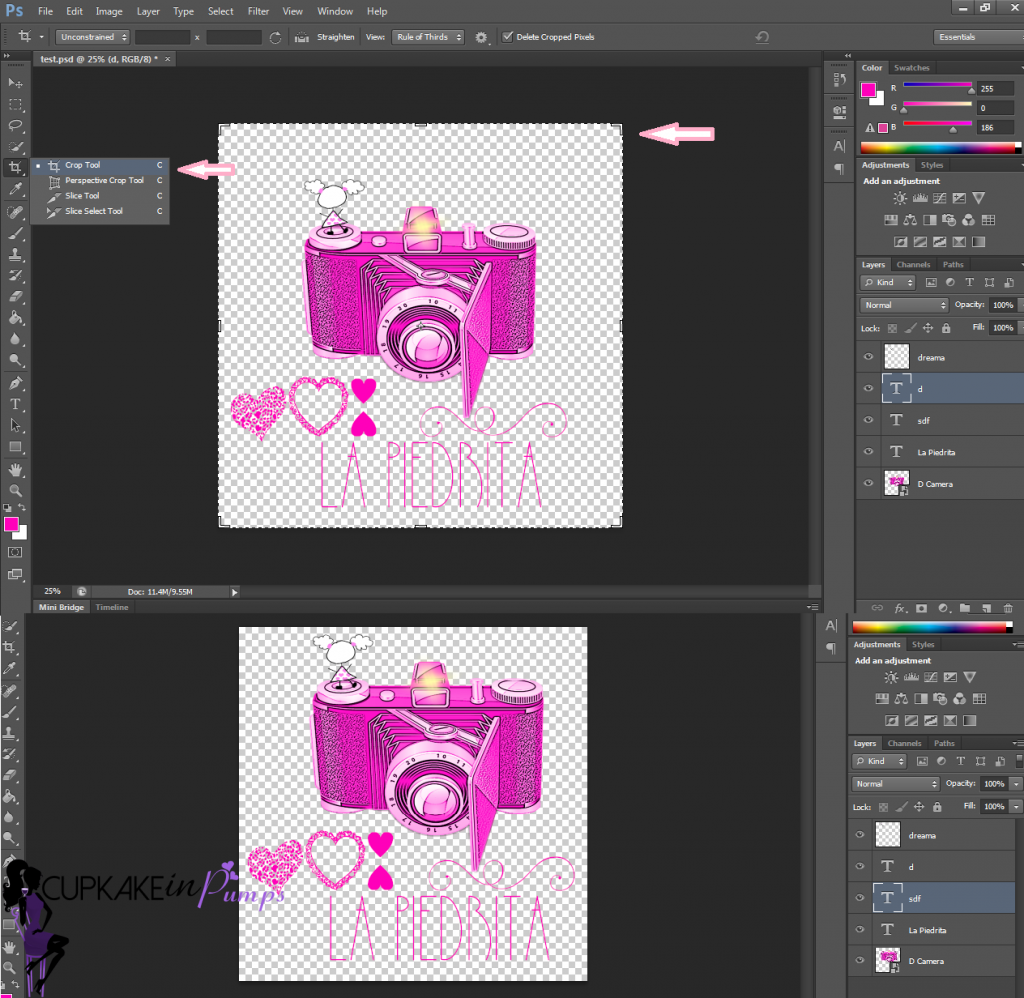
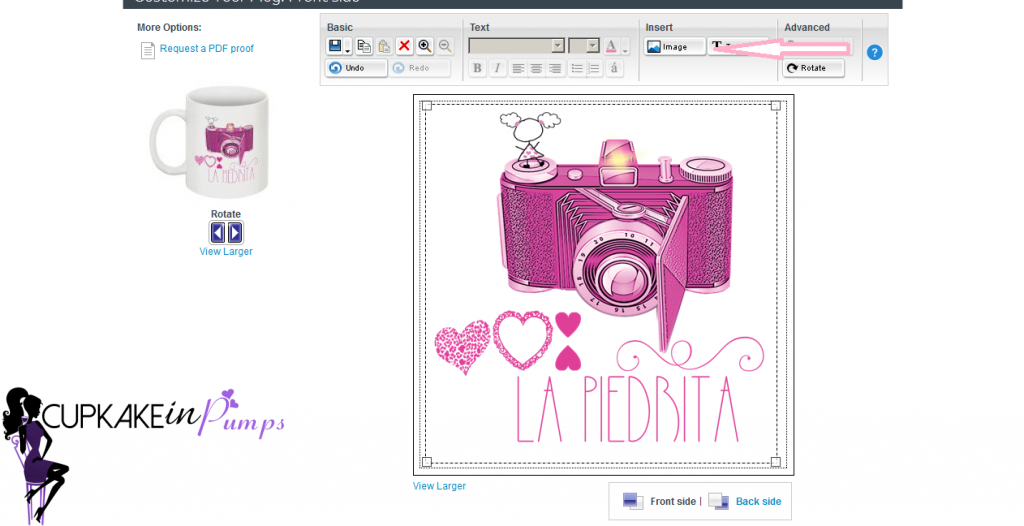
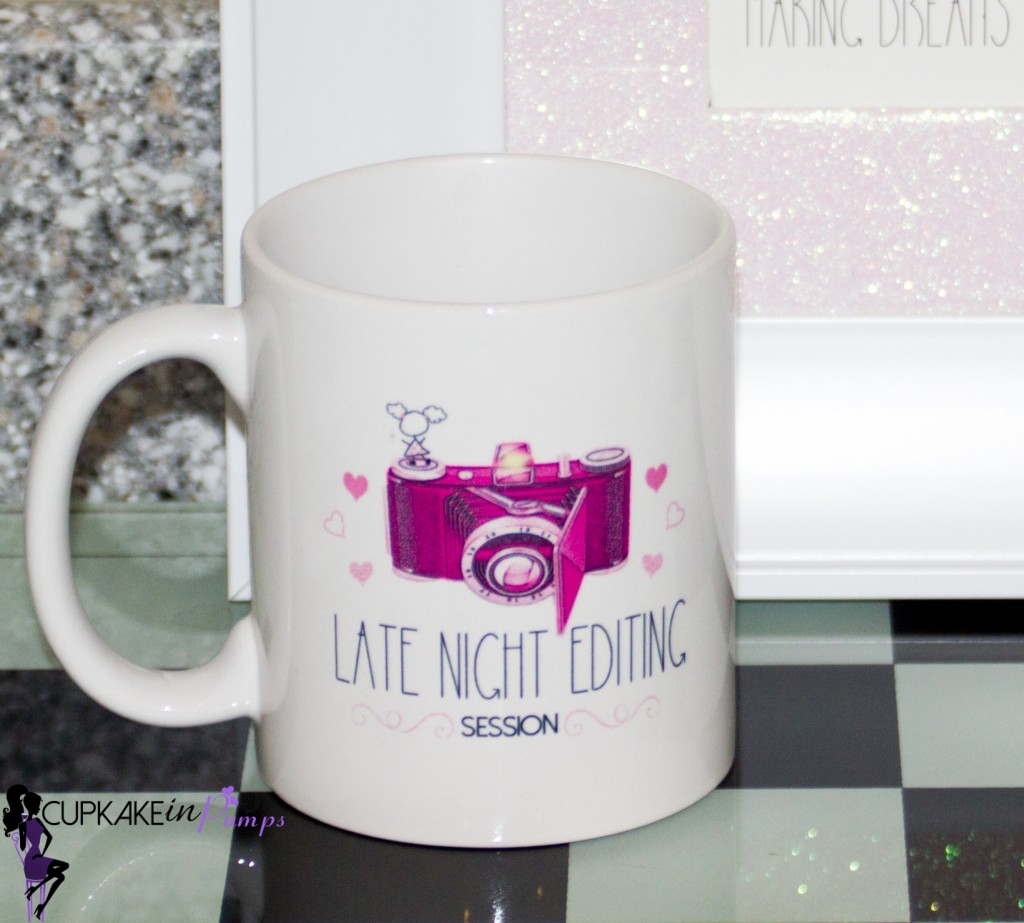
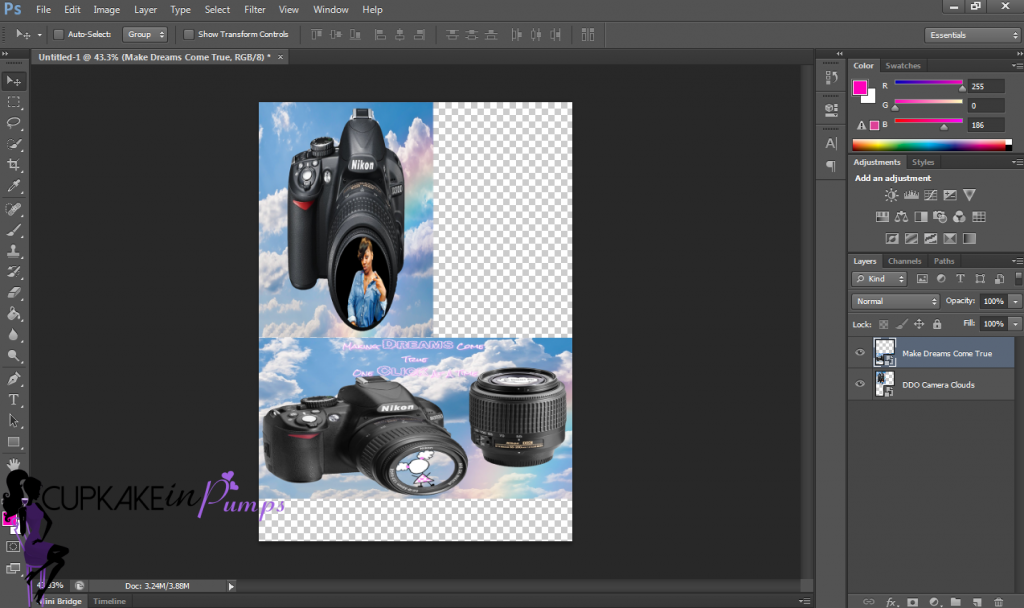
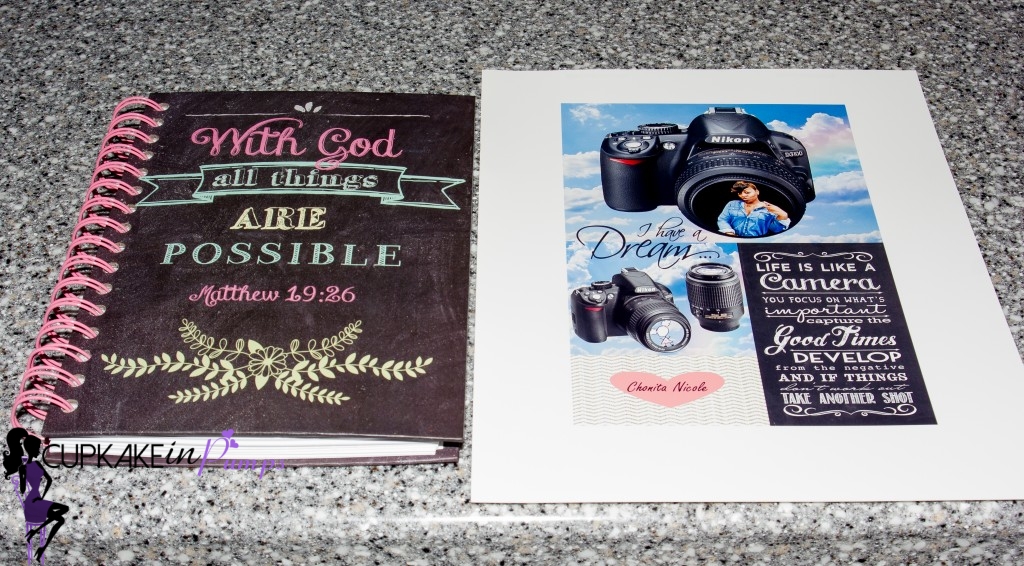
A few months ago, Chonita had emailed me a photo she found online that she really liked, it said “Late Night Editing Session”. I wanted to make her gifts from the heart and since her business and passion is photography, I knew this could be done with Photoshop. I wanted to use her logo and a camera image I made for her a while back for her website. I just grabbed the images and dropped them into Photoshop. Then to adjust the sizes of the images to fit on the layer, I used the free transform tool. Finally I headed over to Dafont to downloaded a few fonts for the mug, KG Flavor and Frames, La Piedrita and Hearts Galore. Unfortunately I don’t have a mug printer yet, so Vistaprint was the next best option!
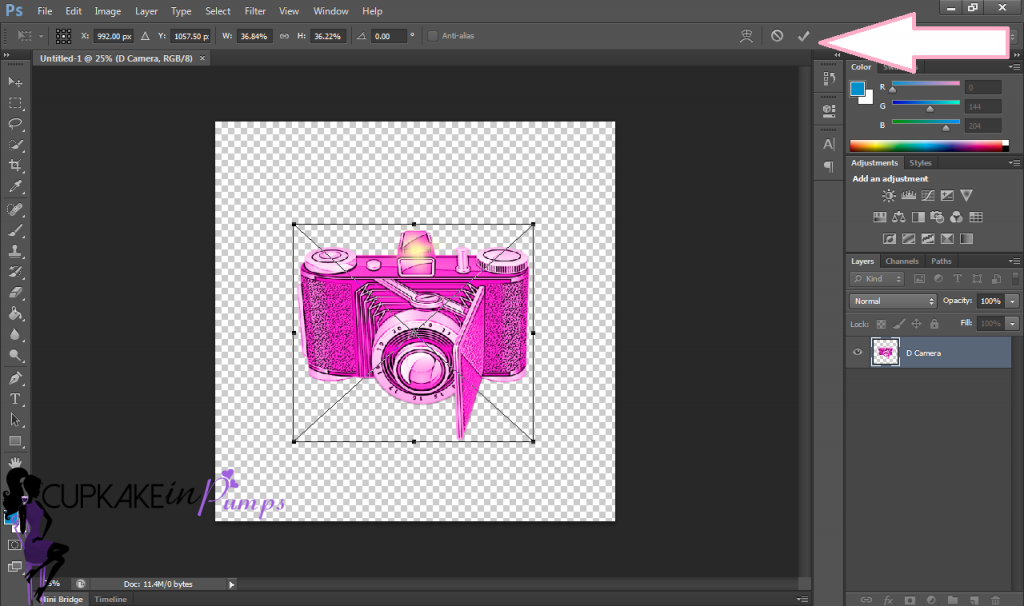
Open Photoshop and choose the size, the bigger the better! The reason for this is to keep the quality of image since it will be scaled down to fit the mug. I chose 2000 X 2000 in transparency, then opened the folder that has my images and just dropped them into Photoshop one at a time:

Adjust the free transform tool to the size you want and move the image to where you want it to be, then hit the check mark on the bar above:
Contine adding your images:

To edit the sizes of the images to make them small or bigger, select the layer, edit and free transform:

Now I added the text and dingbats (Fonts: KG Flavor and Frames ~ La Piedrita ~ Hearts Galore):
This is optional, crop the image:
Last save your image as a .png and head over to Vistaprint:
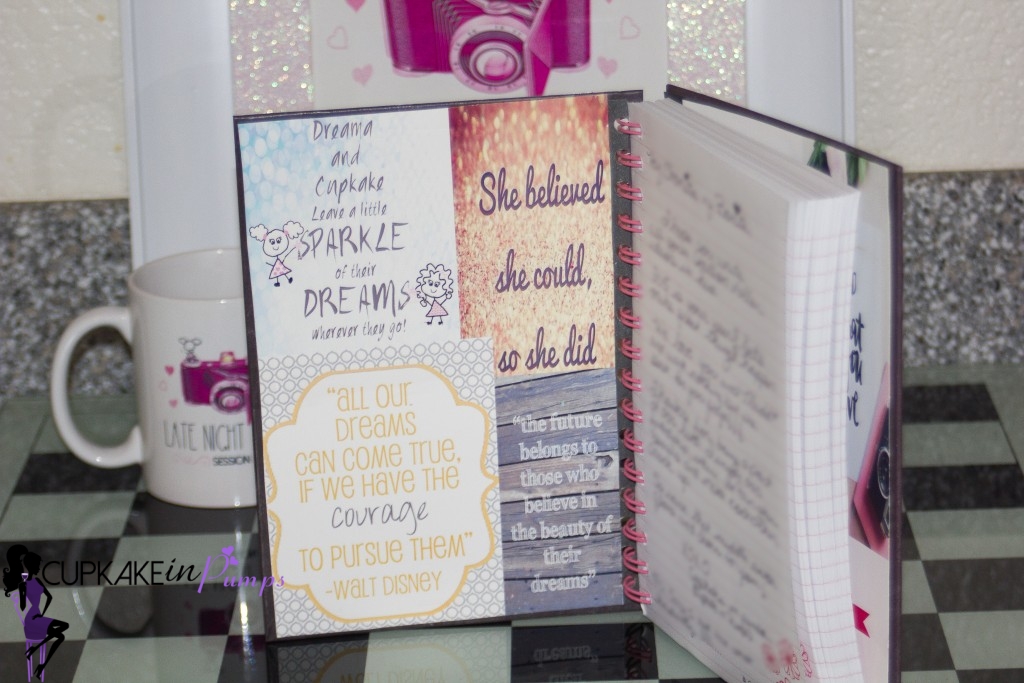
The Notebook:
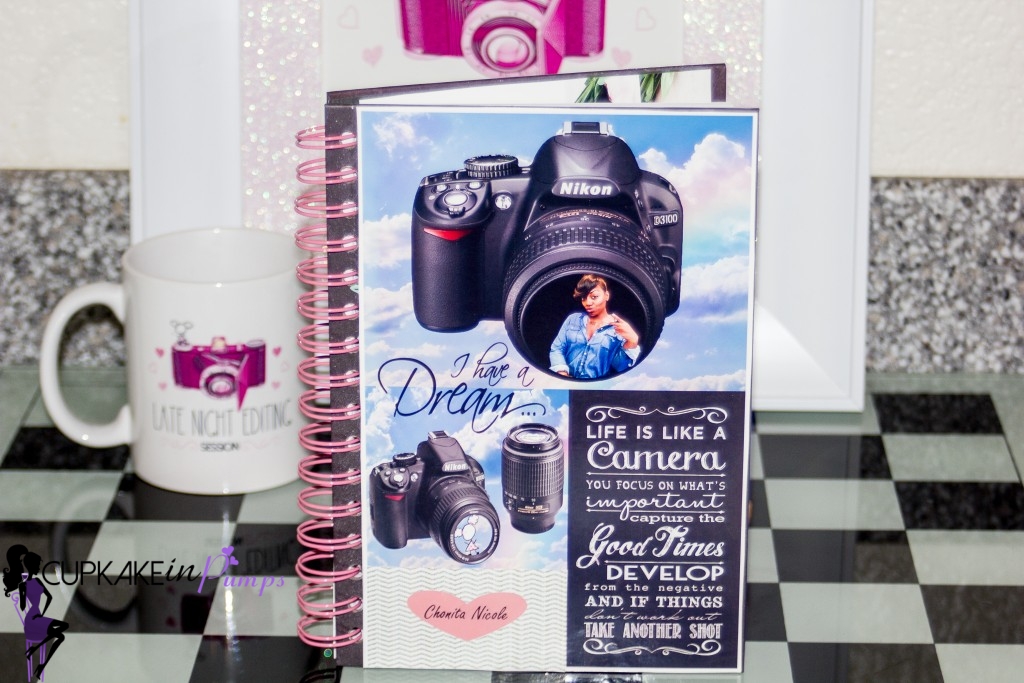
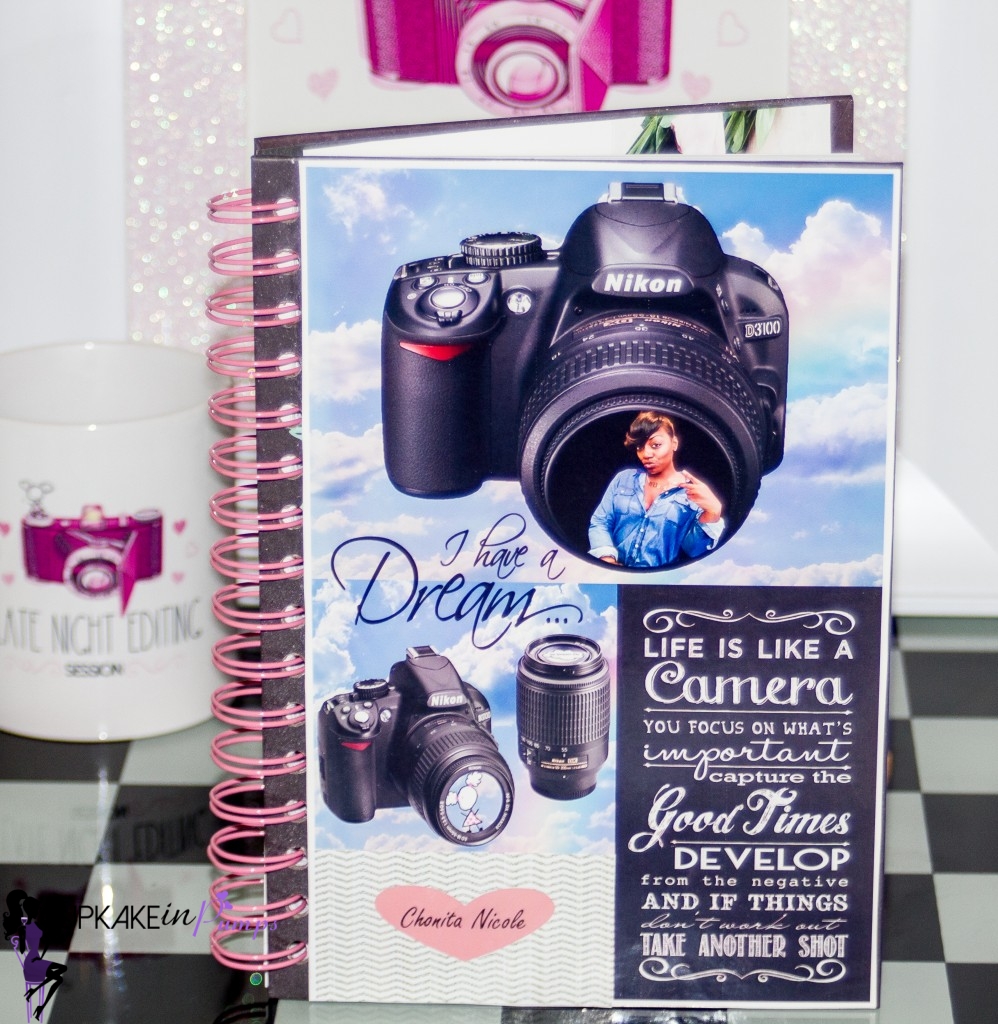
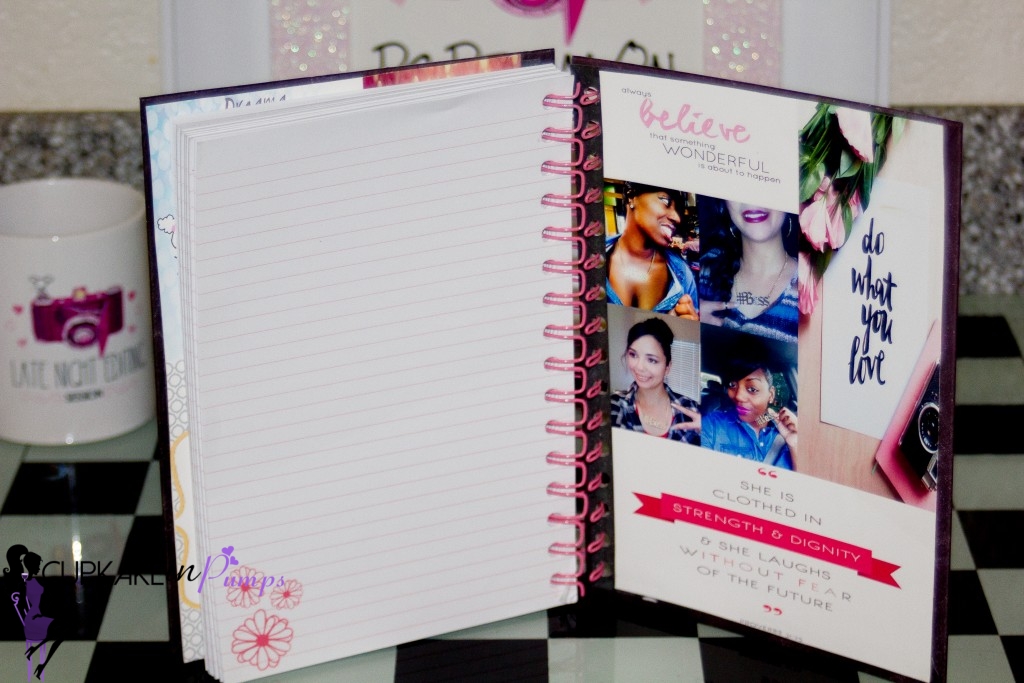
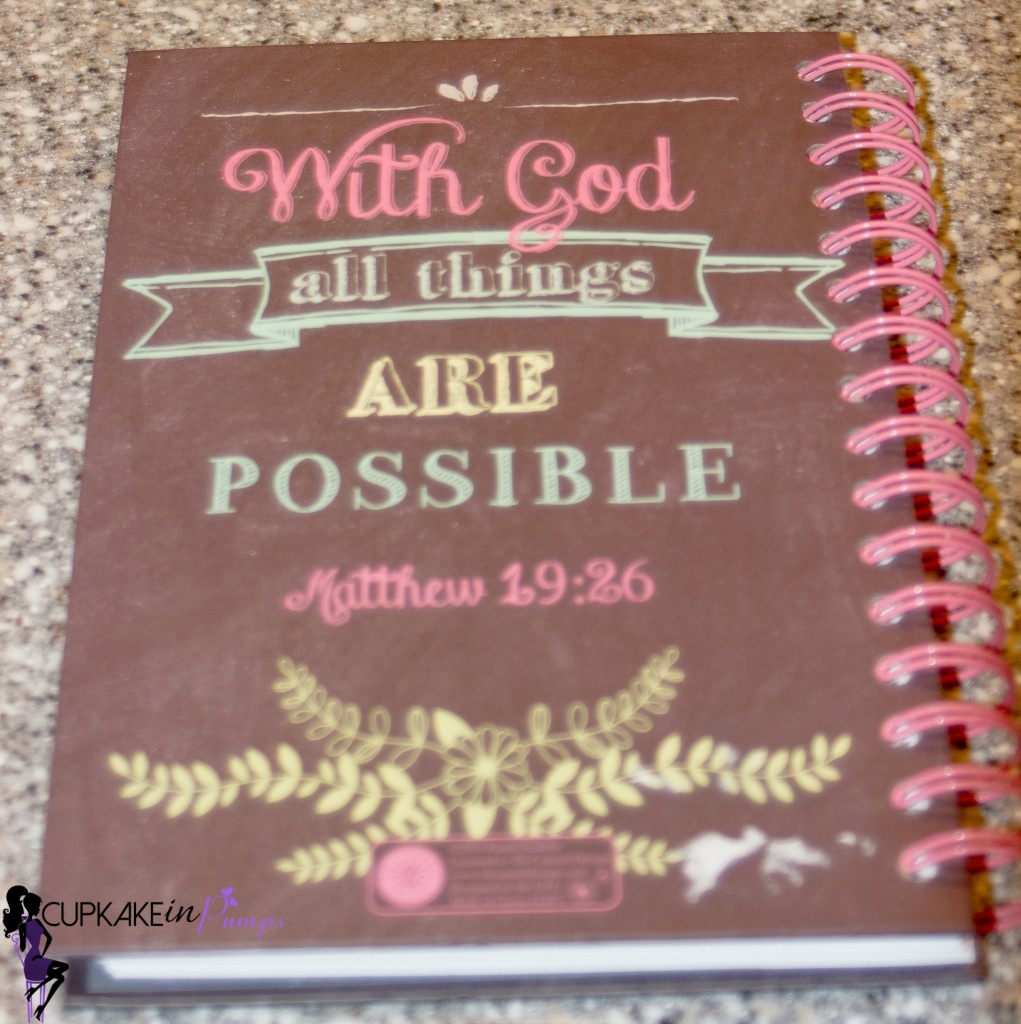
The next gift is a Notebook filled with quotes. Chonita loves quotes and she is constantly posting them all the time on her social networking sites, you can call her the Quote Queen! For this I used Photoshop the same way as above. Just drag and drop the images and adjust the size with the free transform tool. A few of the images I made myself and the rest I got from different social media sites. The reason I didn’t add quote images to the outside back is because I knew she would love that quote that already came with the notebook when I purchased it. To make it even more from the heart, I added different quotes and motivational stickers throughout the pages. I also added a personal note to the front page that I wrote out, which was actually an idea I got from Chonita. I think that is so sweet and reminds me of when my mother would gives us books, she would always leave a sweet little message in the inside of the front cover.
Open Photoshop and choose the size the notebook is! Then as above, drop your images in Photoshop. I used my own printer and loaded it with HP photo paper:
To glue the images on the inside of the Notebook I used Modge Podge. For the outside, the only glue that would work was Elmer’s glue. To spread the glue I used a sponge brushes from the Dollar Tree (I think they come in a pack of 10 for $1.00). To hold the images to the Notebook, I used can goods for the top and clips for inside front and back. Let each one dry for a few hours before adding the next photo paper with glue. Lastly, let everything drive overnight and then you can add any extras that you like or wrap it up!


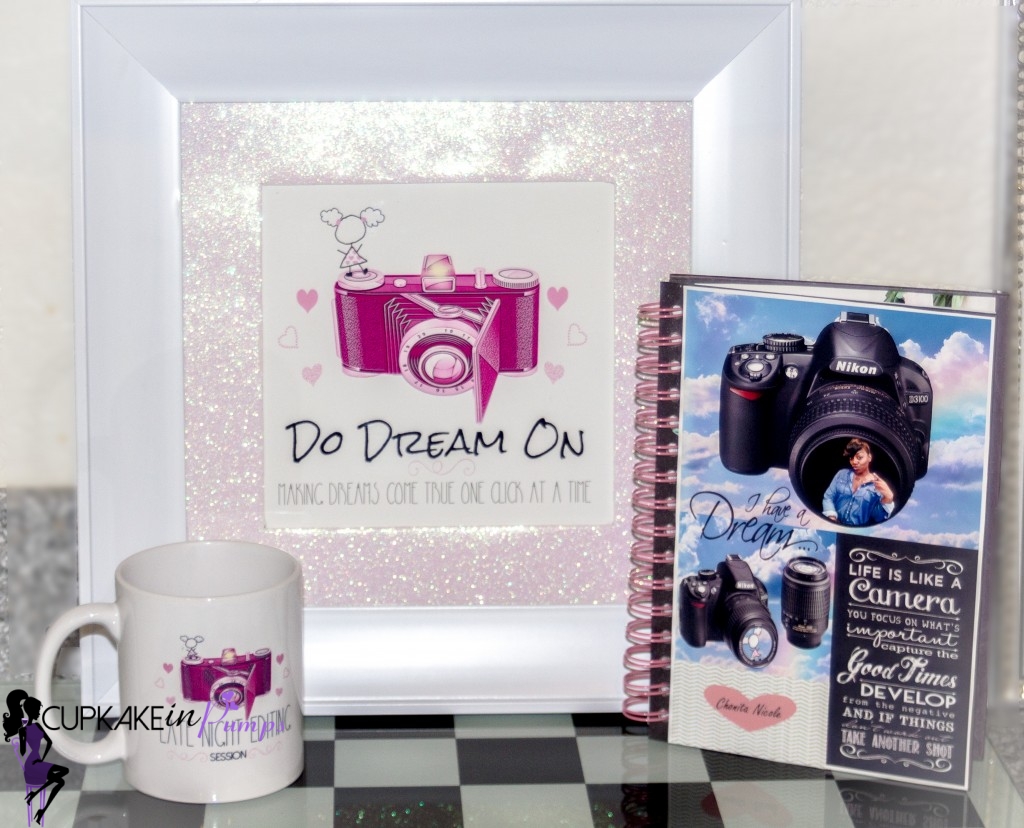
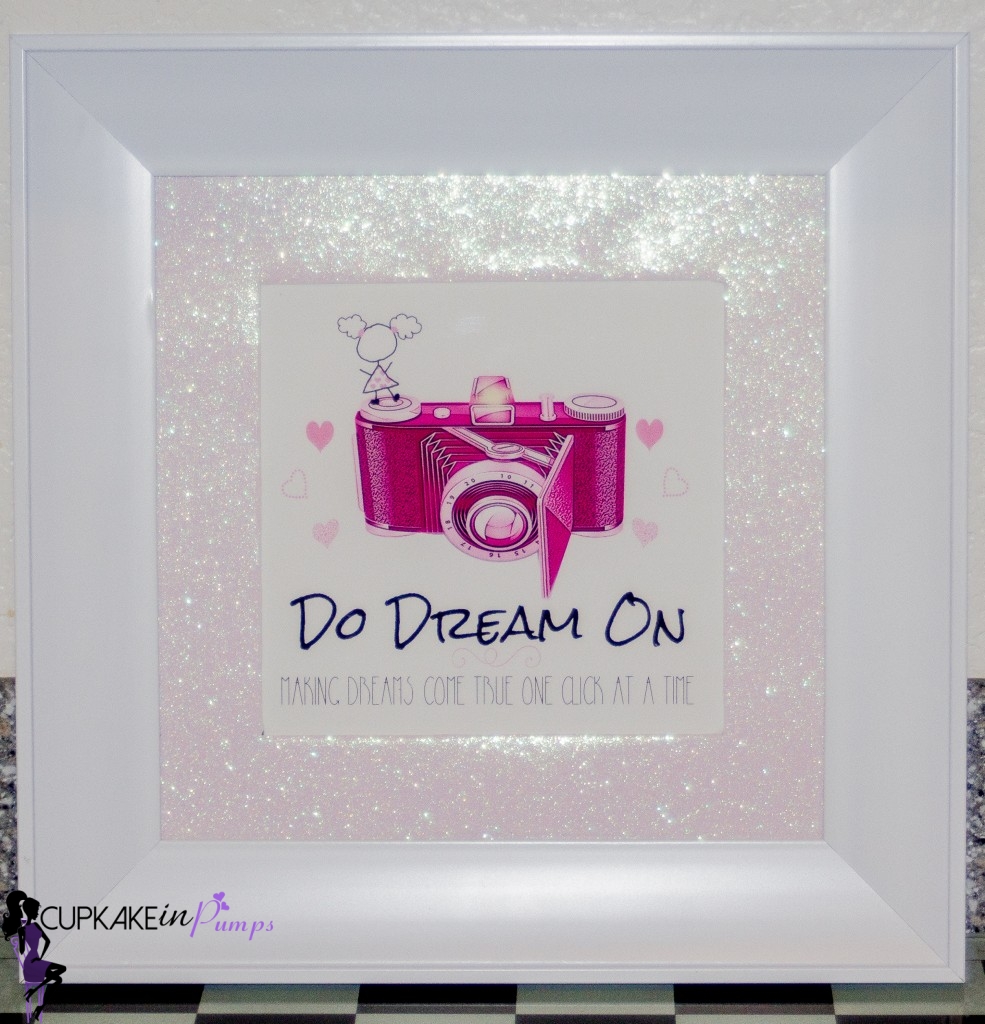
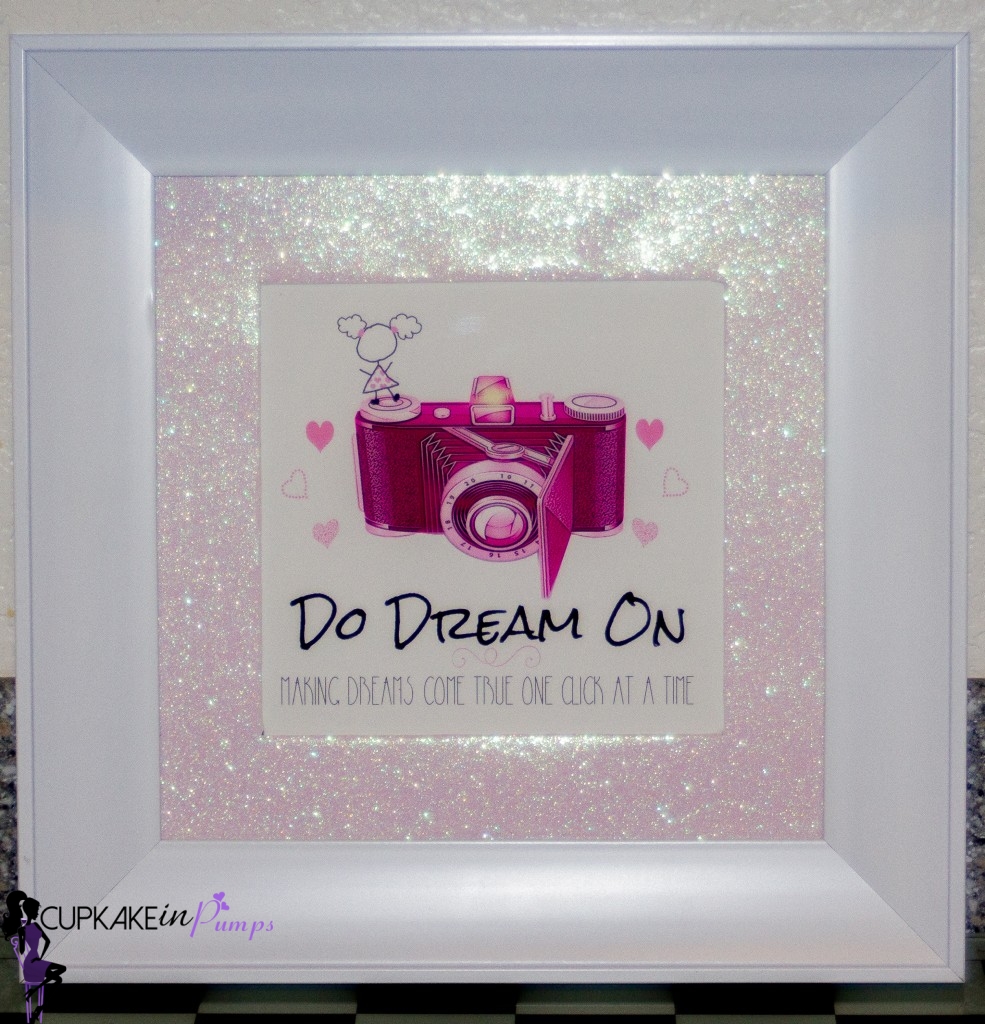
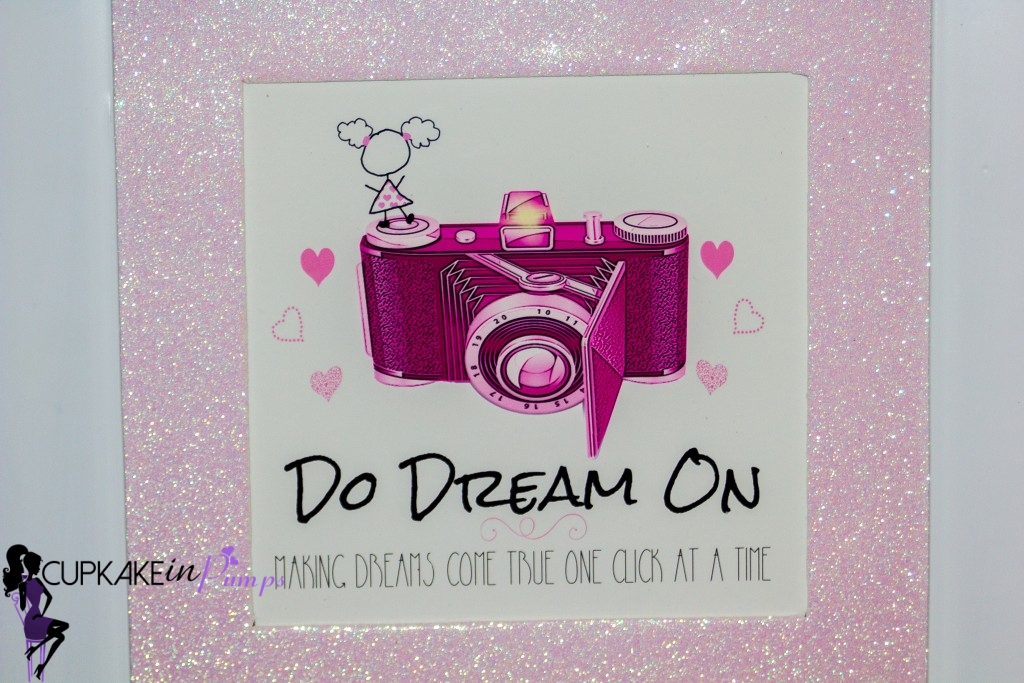
The Frame:
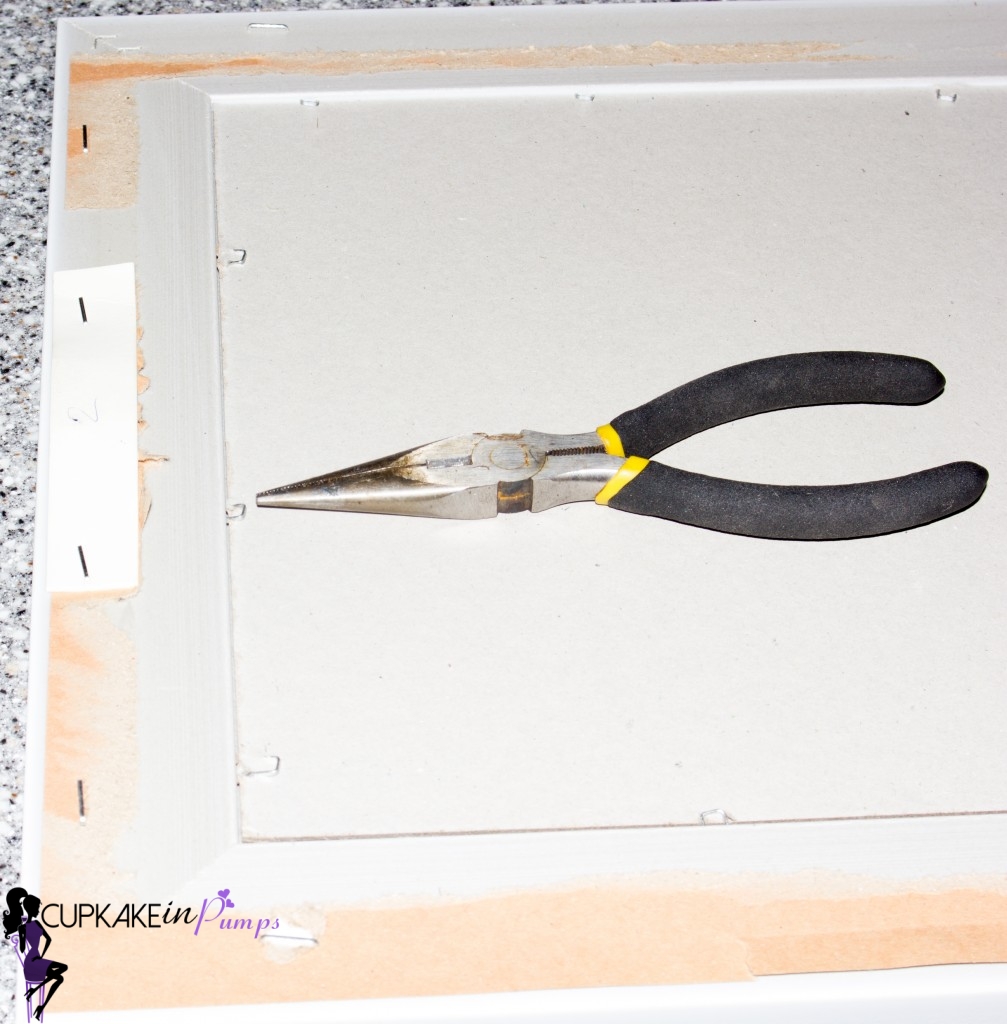
You guys already know what I am going to type…. I used Photoshop for the image…. LOL For the Frame, I removed the paper on the back and grabbed some pliers to pull the staples up, not out. Sometimes this process can be hard, it was for me! But I am a BOSS BABE, so I did it on my own – no need to bother HUBS!
Again in Photoshop the bigger the better! Follow the same steps as the mug tutorial! I used my printer at home with HP photo paper (If you don’t have any of these, you can got to CVS or Rite Aid online or in stores, to get them printed. Sometimes they have really great sales in their printing department.):

Next step was removing the layers on the back:

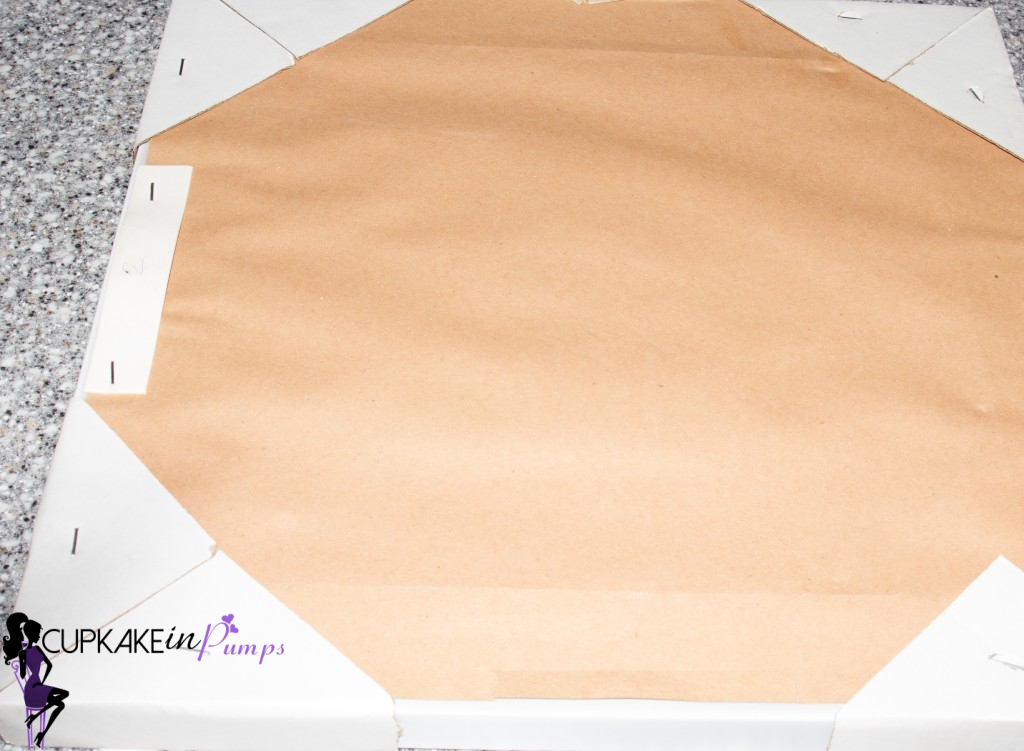

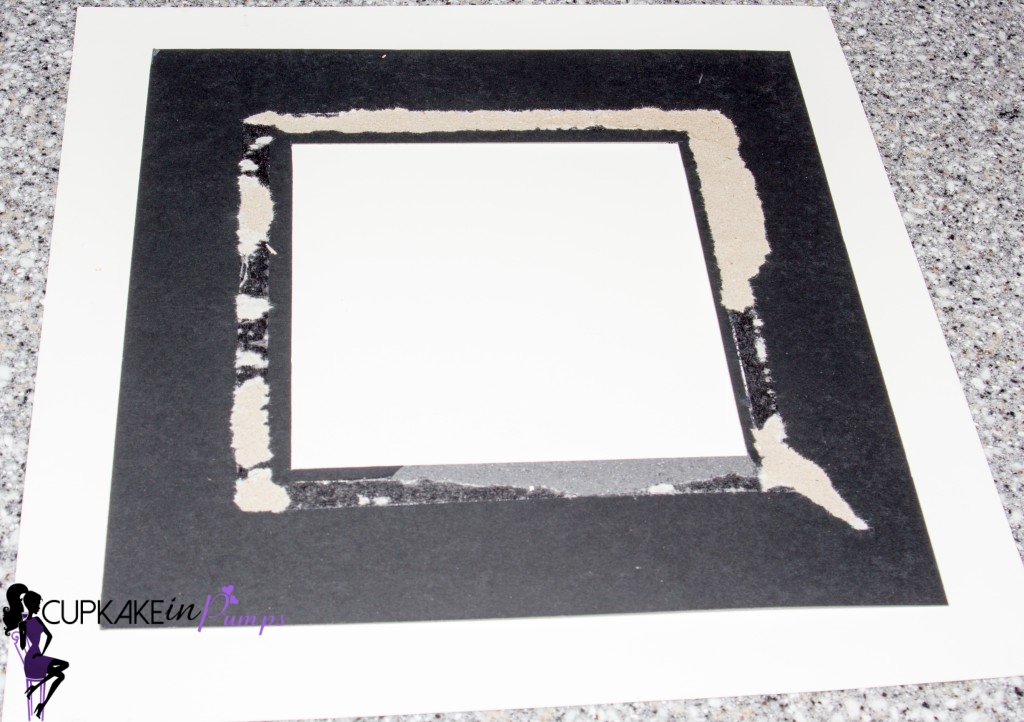
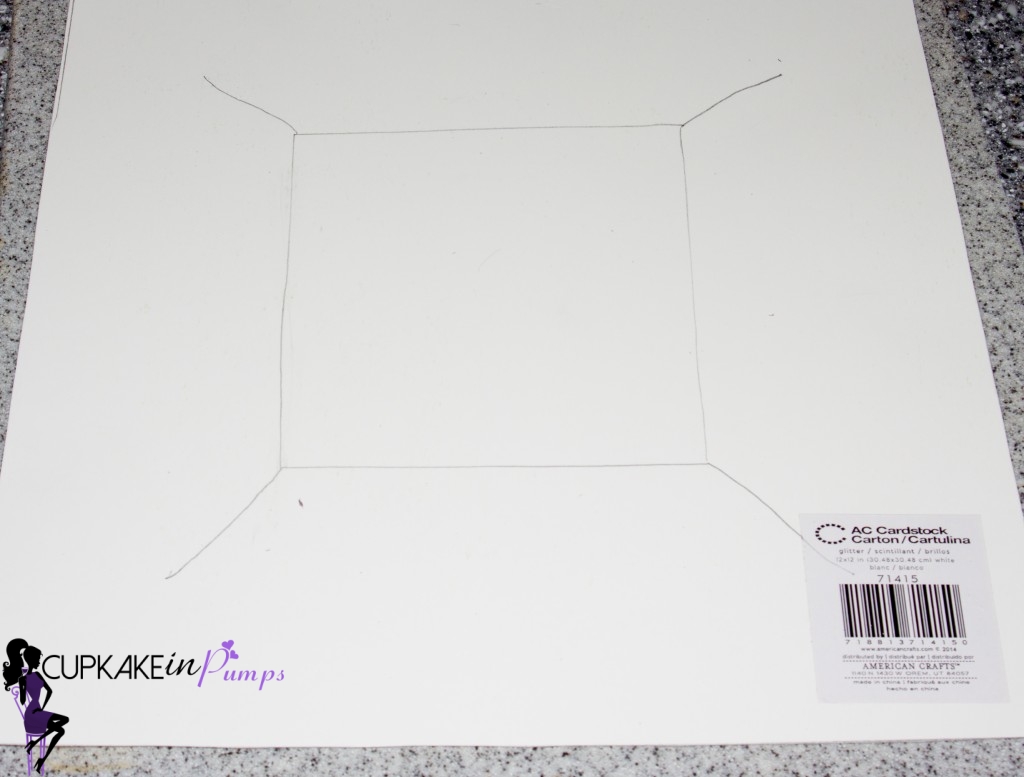
Next step was to make a DIY Mat with the Scrapbook paper. First place the Scrapbook paper upside down, then put the Mat on top of it to see if you need to cut it down so both are the same size. Next trace the square in the middle of the mat with a pencil and mark lines on the outside of all four corners . Then poke a hole in the middle of the square. so it can be cut from the center. Cut the lines in the corners and you will have tabs on each side of the square. Use Mod Podge and a sponge brush to spread it on top of the mat. Once you have the paper glued on the mat, the four tabs should be standing up, use the Mod Podge and some cans to hold them down. Let it dry overnight!

Now that it is dry, you can place everything back in the frame and secure the back with the pliers by pushing the staples down. The only thing I didn’t place back was the original image. I gave that to Chonita (I made sure she opened that last LOL), so she could put it in her planner or do whatever she likes with it. The image was meant to be with the Quote Queen, not hidden away in the frame. Plus, it makes an extra special gift.
FYI: I also would like to mention, not all frames are equally made, some may not need pliers…


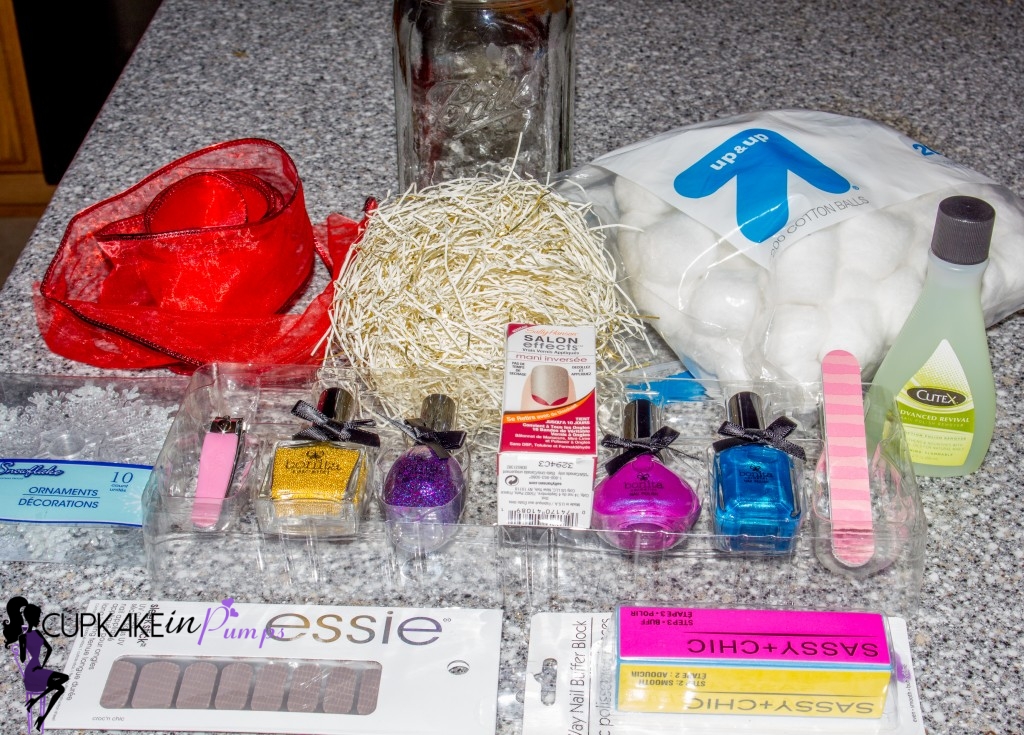
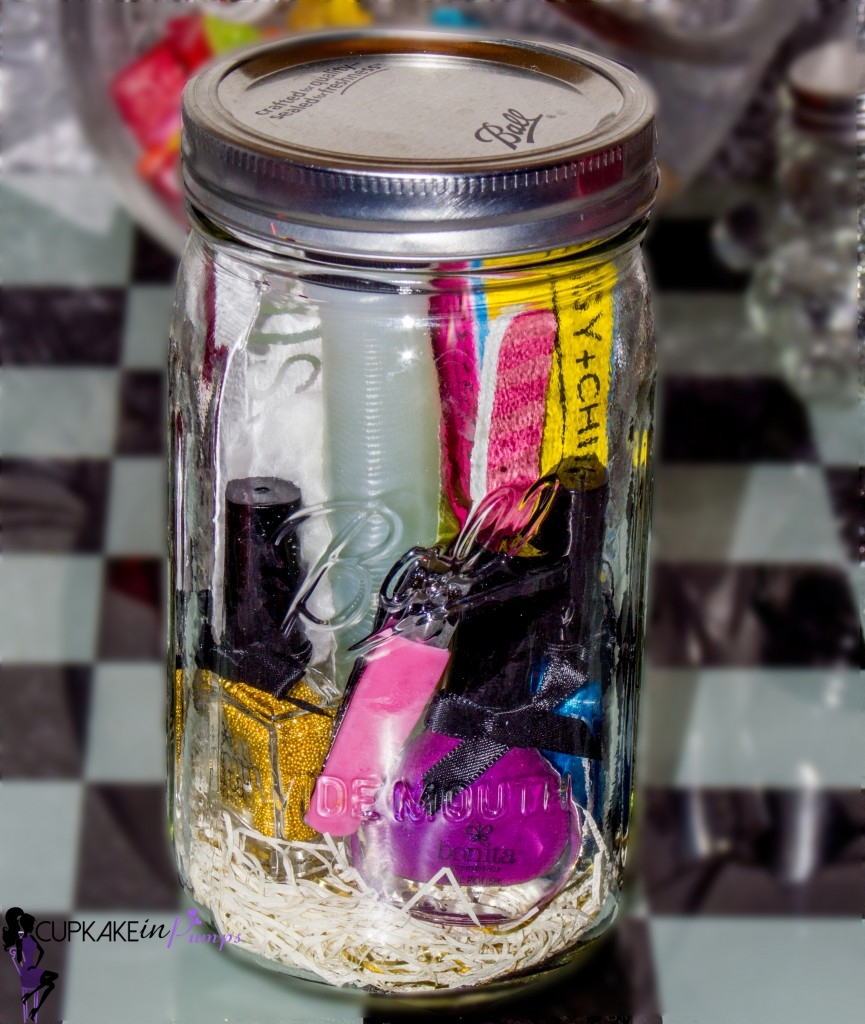
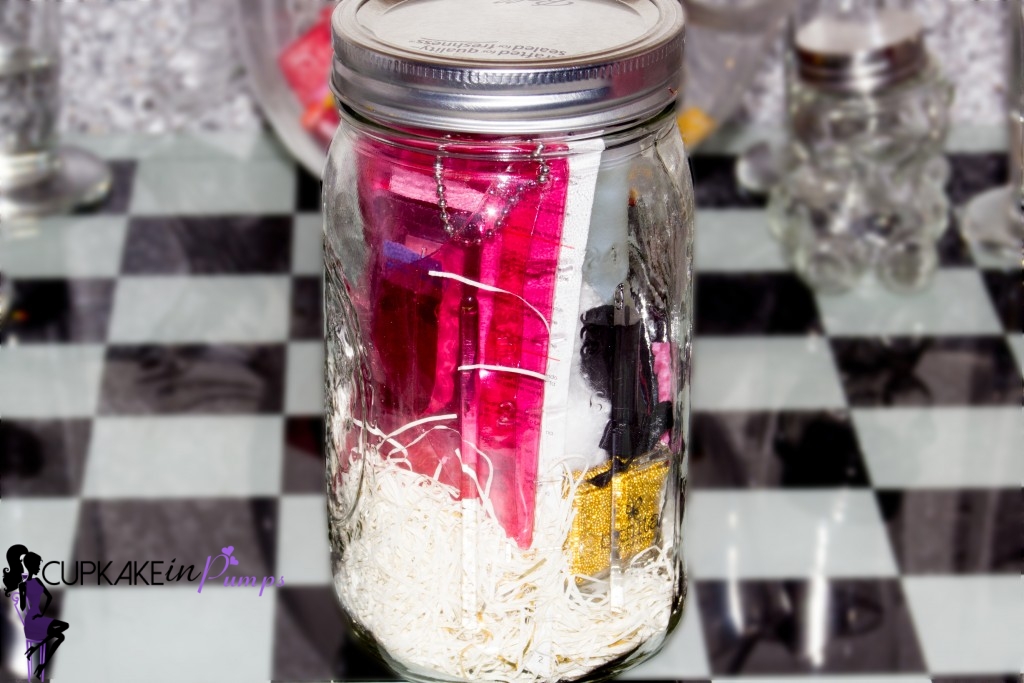
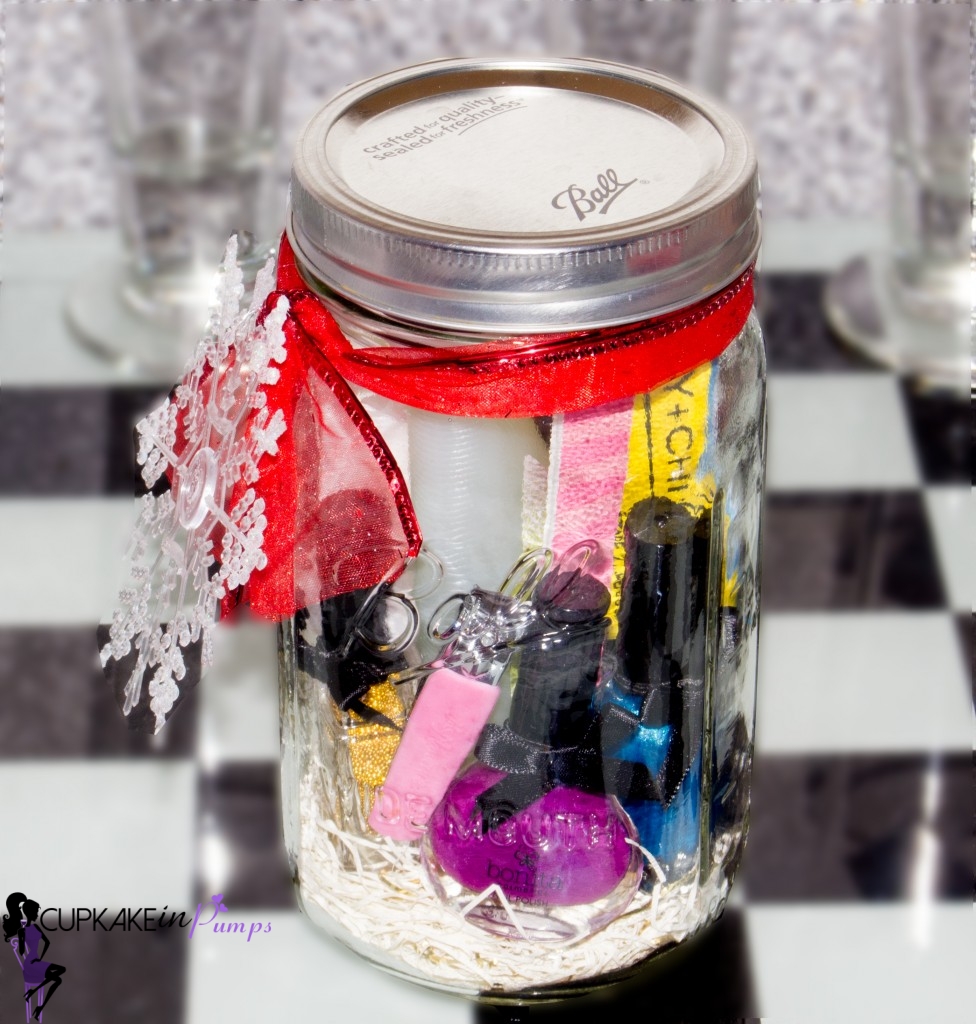
And the last gift is a Mason Jar Manicure Set, which I have a blog about HERE! 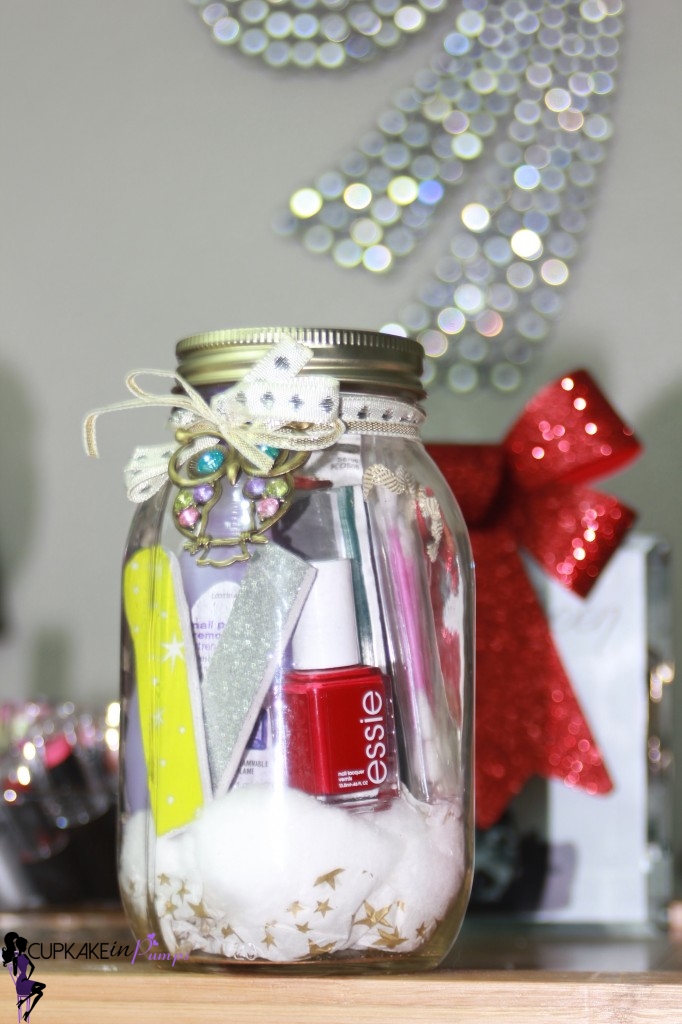
The only thing I did differently was added more nail polishes! I also had to remove everything inside the Sally Hansen box, and place it all in a little clear pink plastic envelope, that the nail file and clipper came in. There was just not enough space for that box…
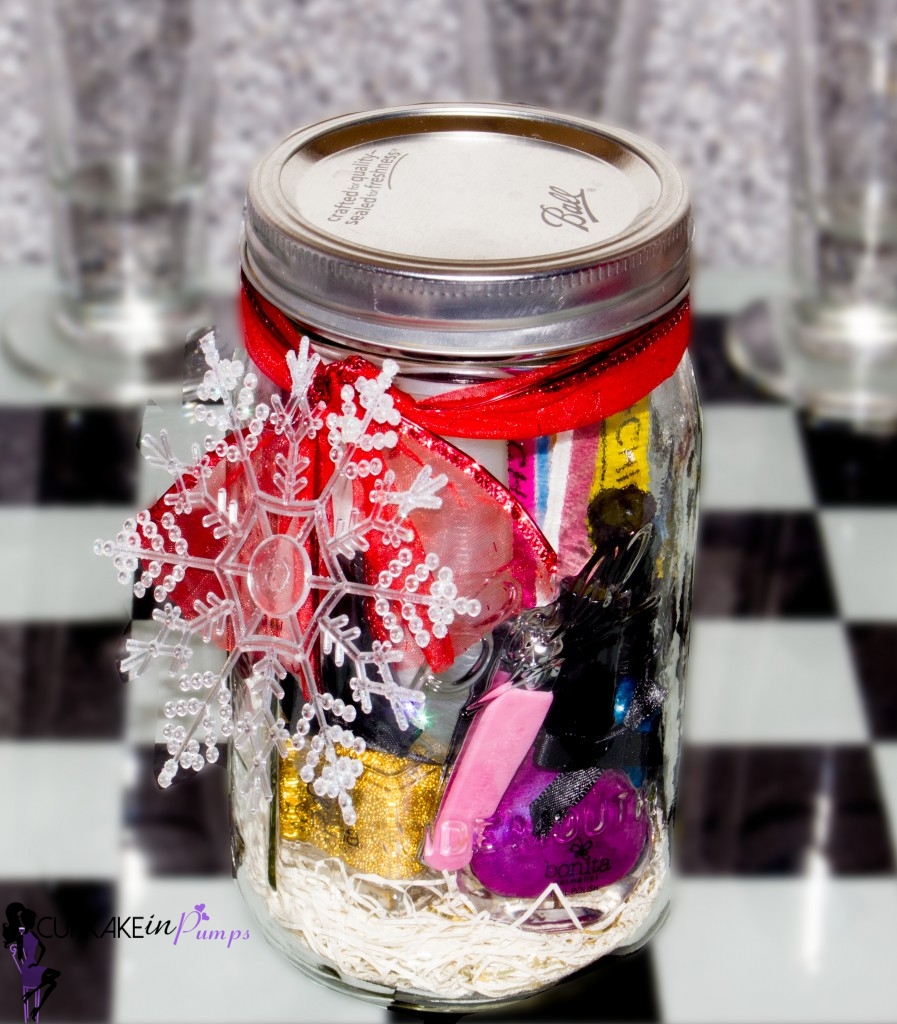
The items I used for the jar (Clear pink plastic envelope not in the image):

Stay Sweet 🙂
XOXO
Cupkake In Pumps
I absolutely LOVED my gifts they were sooooo special and personal I literally teared up! Thank you isn’t enough! I didn’t know the frame wasn’t a blank one you put in a lot of work Boss Babe! Wow! Thanks so much you are the BESTTTTTT! Also that mason jar was an awesome idea who go that awesome gift? Great post!!!!!
Just something special for the Quote Queen:) Yes these hands were put to work on that frame LOL… YOUR SO WELCOME!!! The gift was for the hubs brother’s girlfriend. 🙂 Enjoy Do Dream On!