Another dumpster find!
These two chairs weren’t actually left in the dumpster… just on the side, waiting for the hubs and I to rescue them.
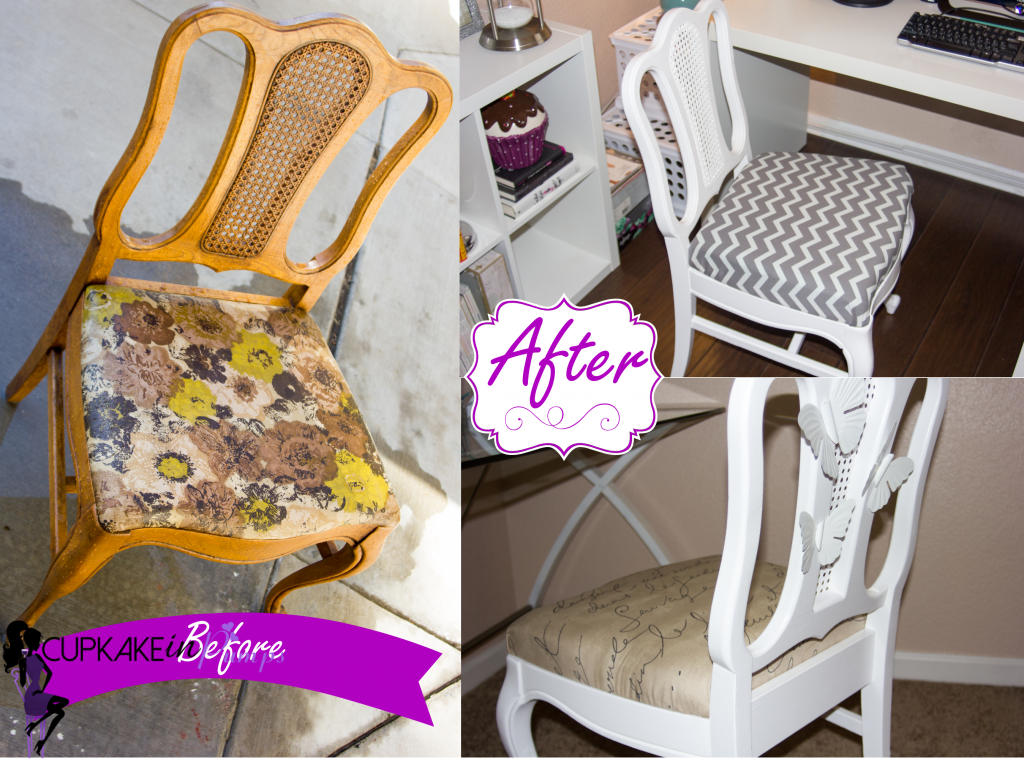
I am so excited that I finally get to blog about these chairs and show you guys how they turned out. In my opinion, they are AMAZING!!!!
If you all are anything like me; you hate both the the sanding and priming part of any DIY project!!! Even though I have a great sander, the wood on the chairs would have been a pain in the ‘you know what’ to sand. So of course I went to my friend Google and asked him to help me save some time but still ensure my chairs look FAB for this project. He suggested some liquid sandpaper…. I was beyond excited “Like they make liquid sandpaper!!!! Oh it is on and poppin“.
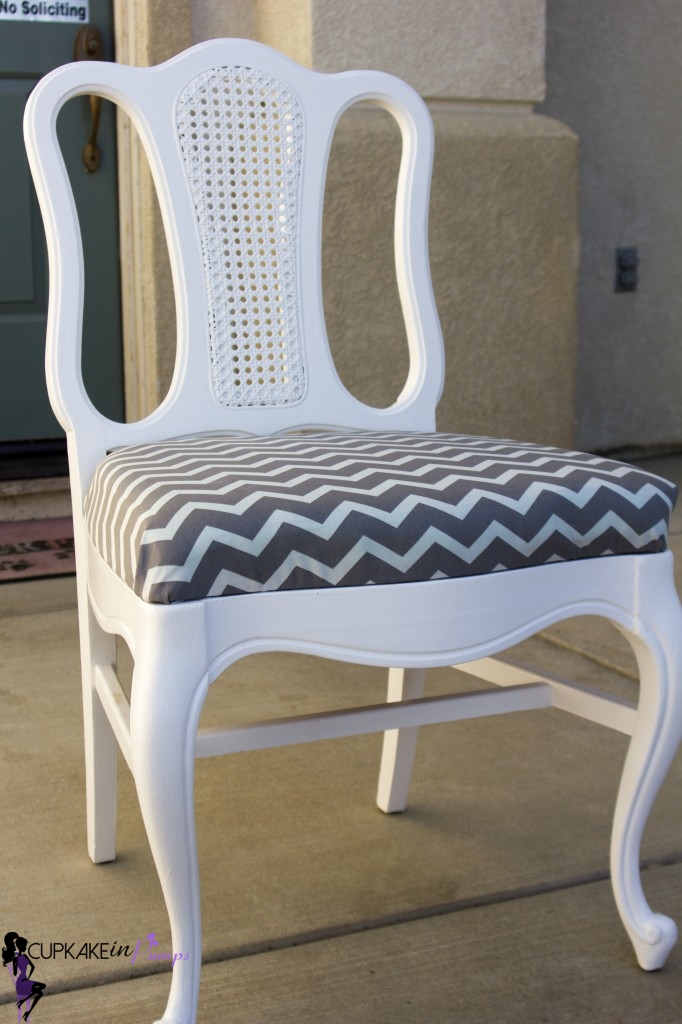
So we made our way to the home depot andddddd the guy who worked at the paint department said we don’t need to sand or prime if we bought this ALKYD Semi-Gloss Enamel Paint from Behr, which is very pricey. I was a little skeptical at first, because in the past when we didn’t prime, the paint just wouldn’t hold onto the wood. So we asked the guy “are you sure?” because we don’t want to redo the chairs over again and relive the nightmare we experienced from previous projects. He promised me that we wouldn’t have to, that this paint was made to bond to the wood eliminating the process of sanding and priming. I am not going to lie, a part of me was still a little scared when I got home. I already have the paint, might was well see what it can do. Guys this paint is the bomb, it was everything and more that the guy said it would be. The paint really holds to the wood, its got a great glossy finish and it leaves people inspired to start there own projects.
I have to say, even though the paint was pricey ($45.00), we used it on two chairs, a dresser, and two side tables & some knick knacks; and we still have some left in the can. This paint has not disappointed us and I will purchase it again in the future.
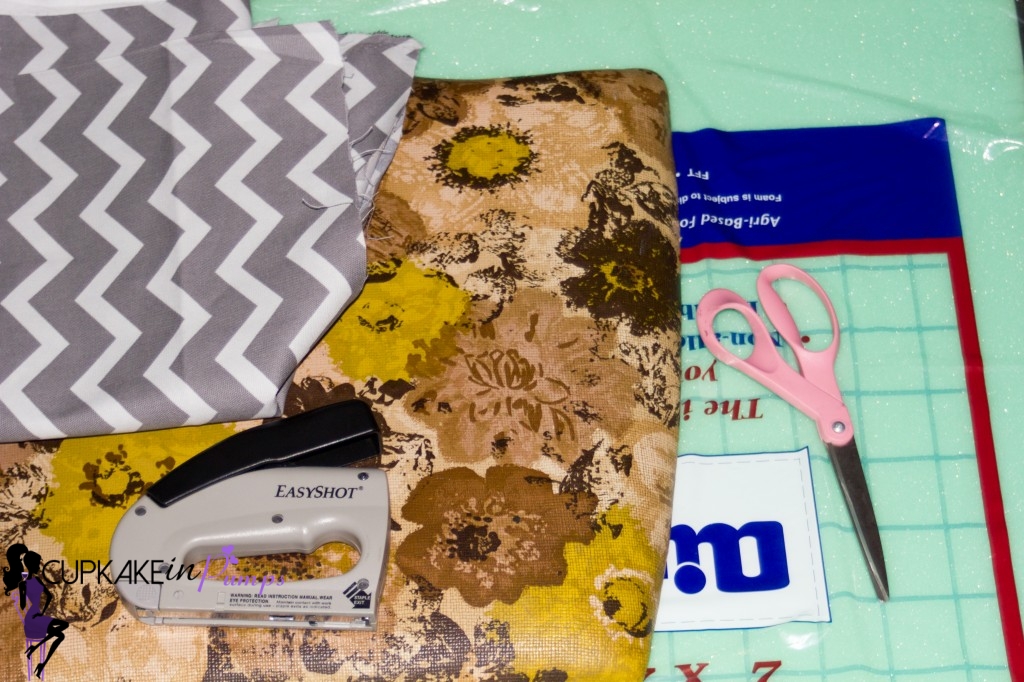
Next up was to buy the fabric for the chairs….
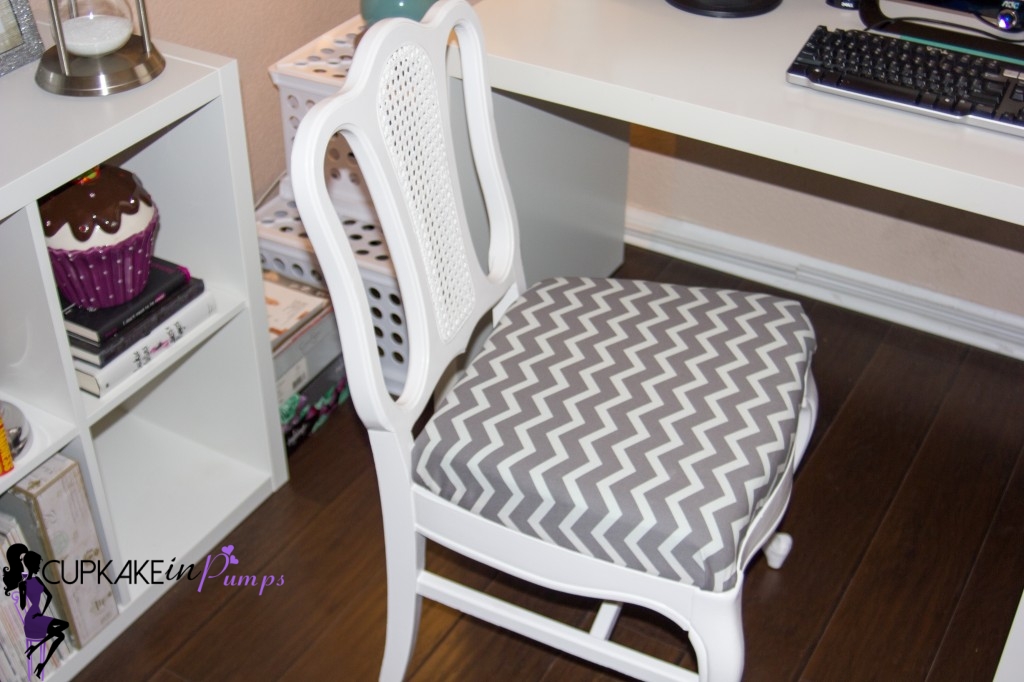
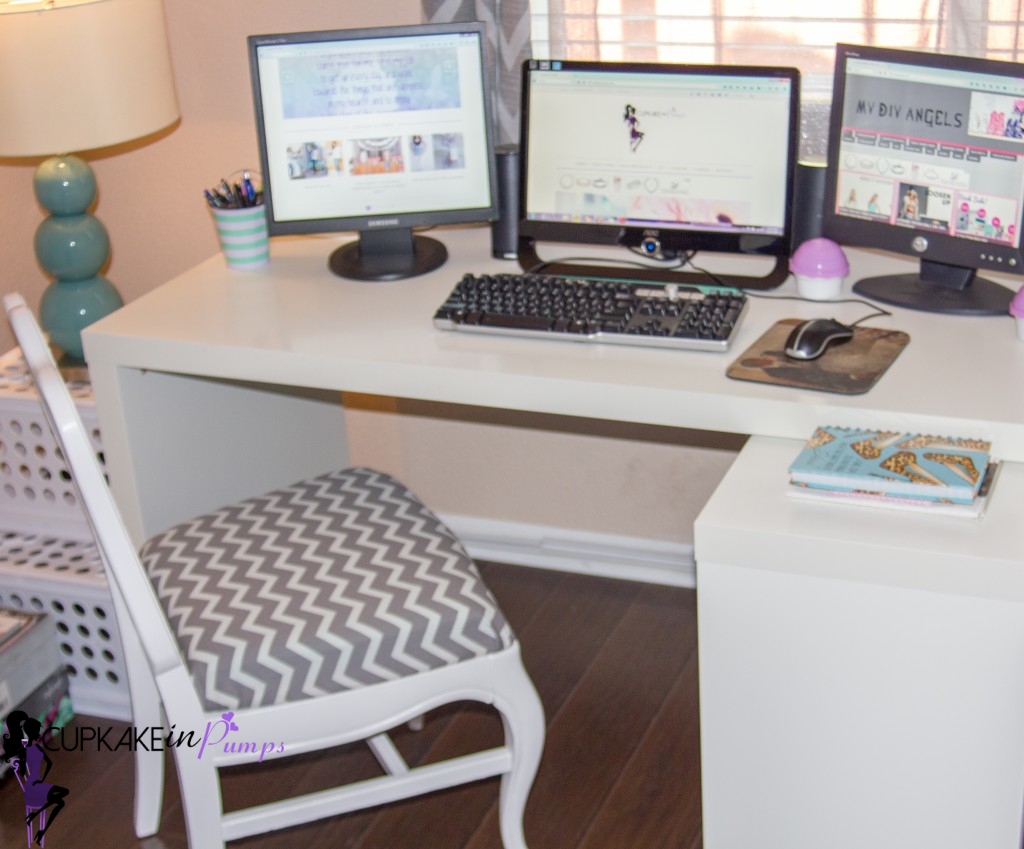
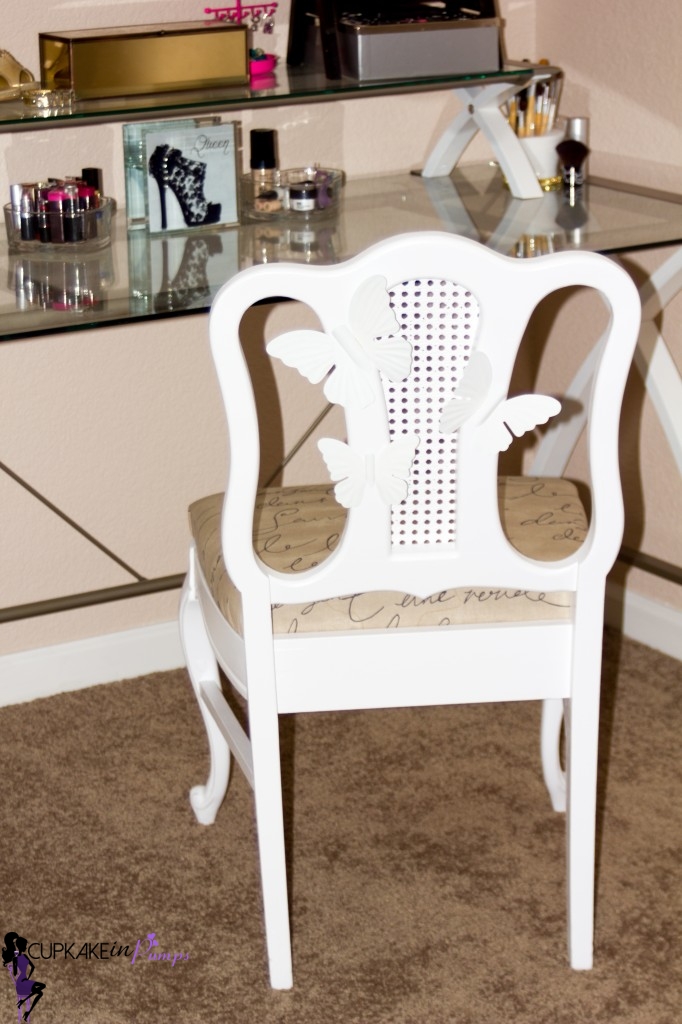
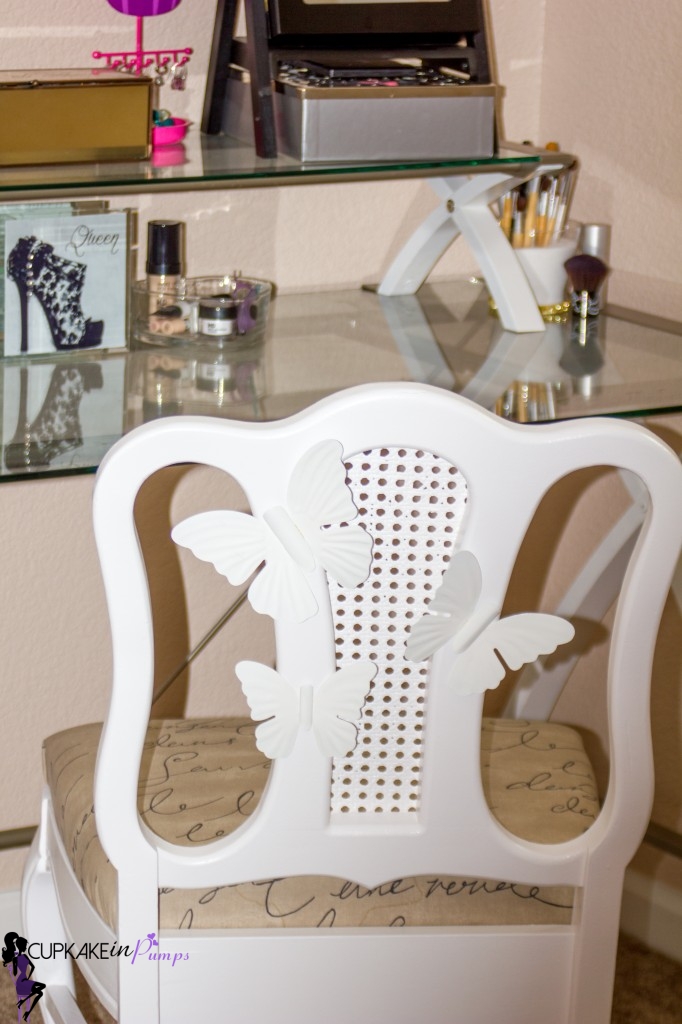
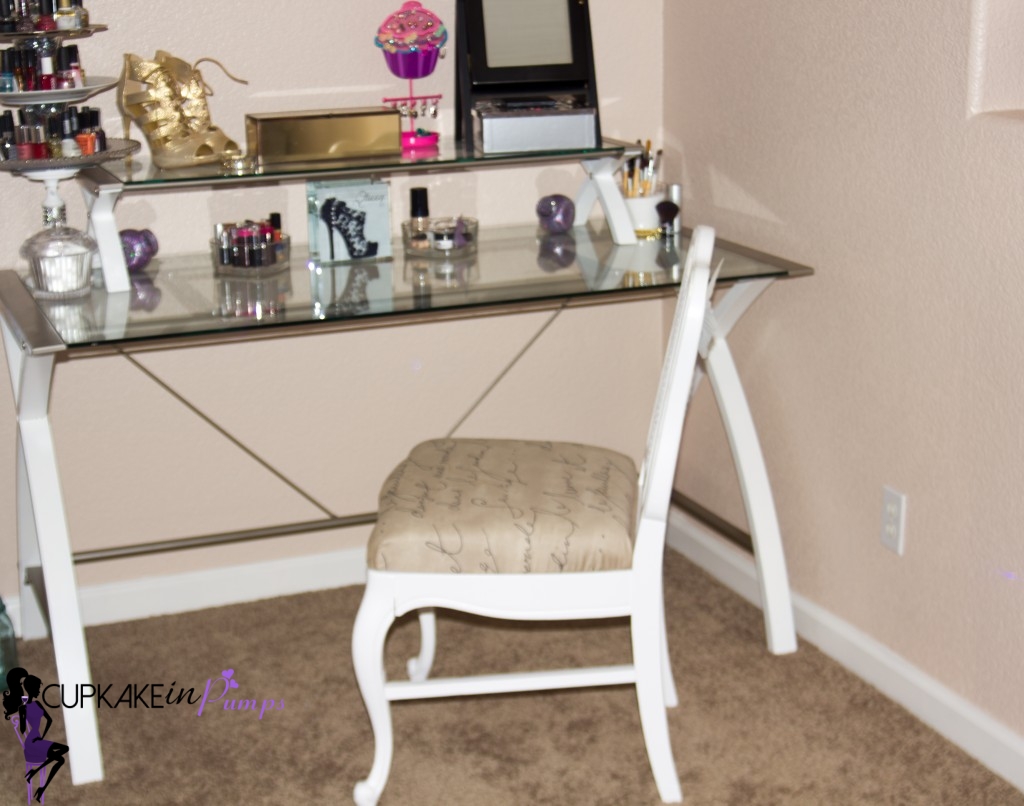
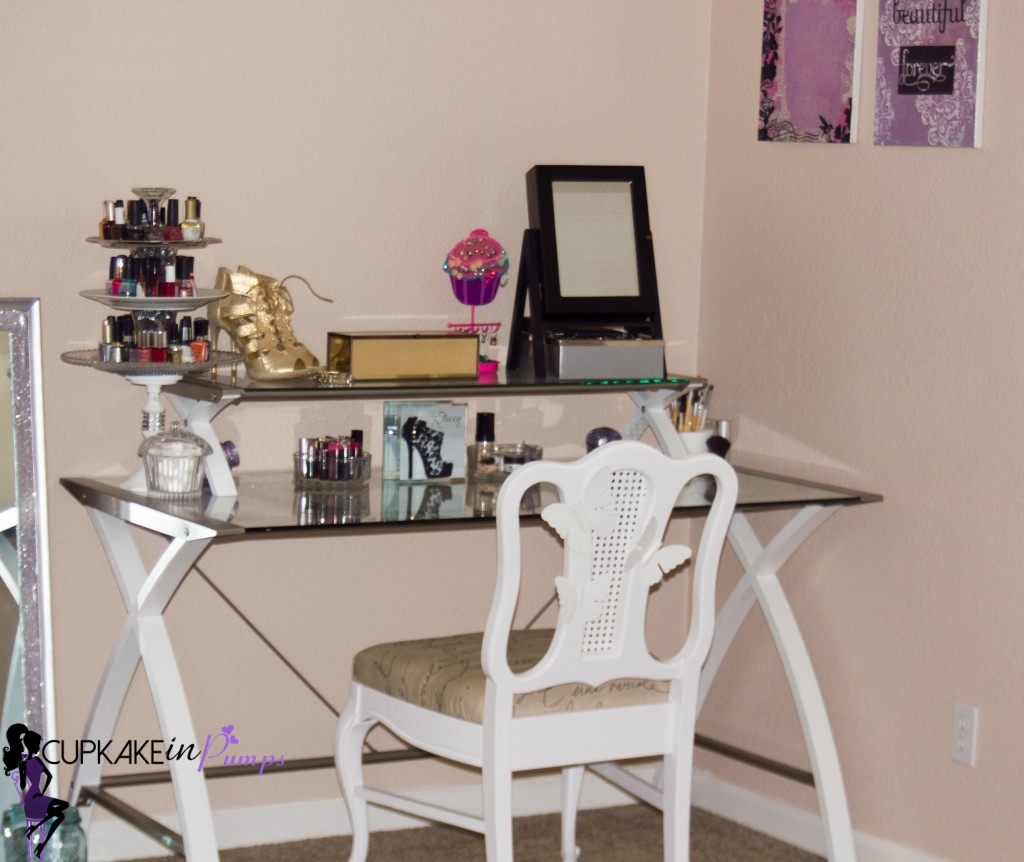
One chair is for the office (since the hubs already has a fancy chair) and the other one is for my makeup room.
To Joann’s Fabric store we went, and as soon as I walked to the back of the story I saw the fabric I wanted for the office. I knew it would go perfect with the decor we have in that room. So I grabbed a yard ($6.00) and foam ($12.00) to add more cushion, because the other one just wasn’t doing its job. Unfortunately at the time I wasn’t ready to spend $35.00 a yard on the perfect fabric for the makeup room chair, I had to get some coupons first.


So the hubs comes home the other day with a 50% off coupon, it was like I won the lottery. I headed back to Joann’s Fabric store and went straight to the back to grab my Ideal $35.00 fabric and had a yard of it cut. Before she snipped away I needed to know if it was on sale, if it were – I couldn’t use my %50 percent off coupon, but that was OK because I had a backup one for 20% (some savings is better than none at all). So the girl was so helpful and finally found the price and she said it is a red tag… so the 20% it was. Or so I thought. When we get up to the register, I couldn’t click the link on my phone to use the 20% that was sent to me from Retail Me Not and it was useless without the bar-code. The cashier suggested we sign up for Joann’s text coupons. WHATTTTT I had no idea all you have to do is text 56266 then Coupon and BOOM you get 20% immediately. Of course I had to get another foam ($6.00) so I used the 50% on that and the 20% on the fabric ($6.39).


Instructions for both chairs:
Clean
Next Paint 4 or 5 coats (ALKYD Semi-Gloss Enamel BEHR)
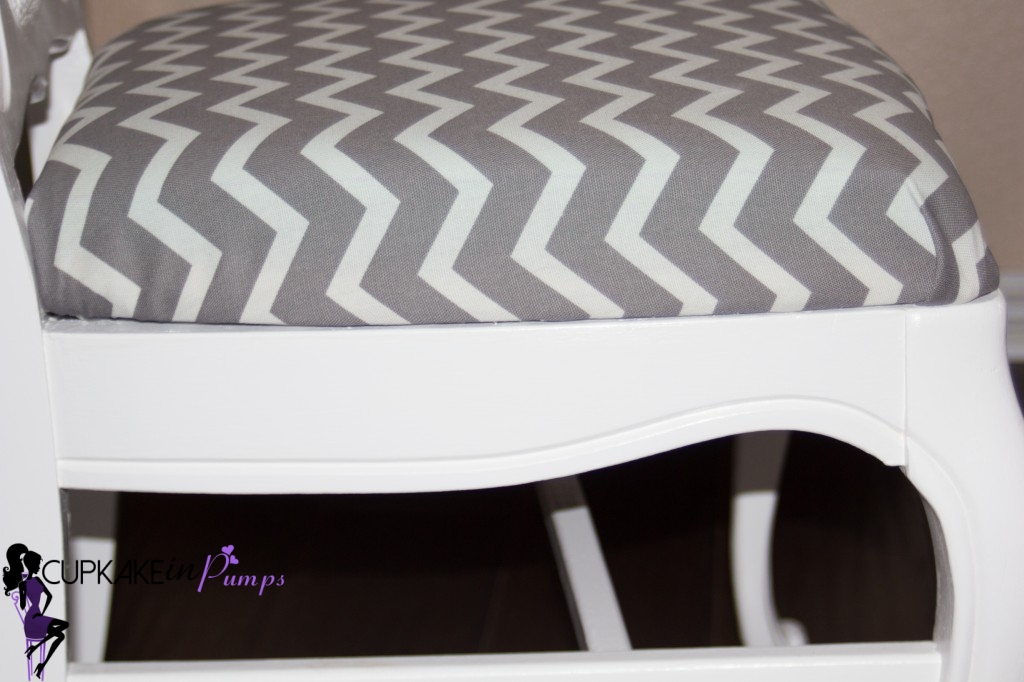
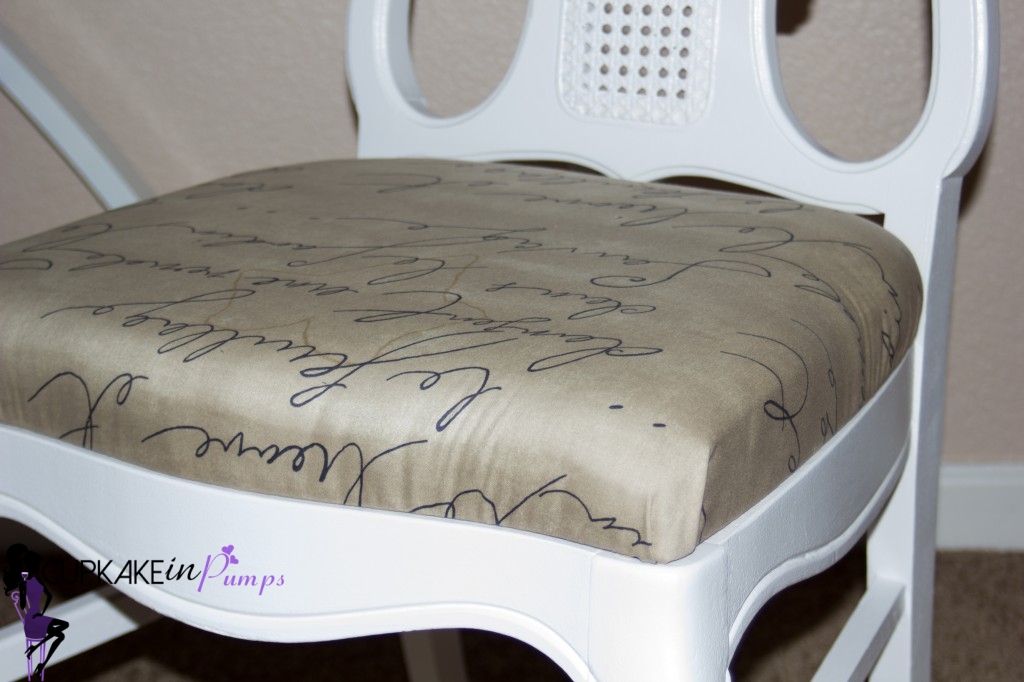
Remove the fabric from the seats.
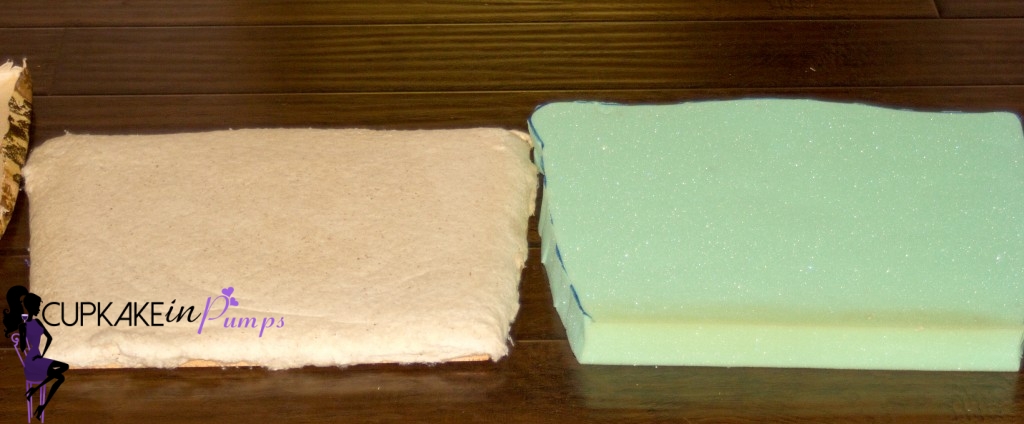
Place the seat upside down on the foam, and line it with a marker. Cut the foam along the marking you made.
Now place the foam on top of the seat, flip it upside down and place it on top of the fabric. This way you can now how much fabric to use. Once you have your fabric measured, cut it and staple it to the bottom of them seat.
For the makeup chair I added some butterfly decor to it by using cement glue.
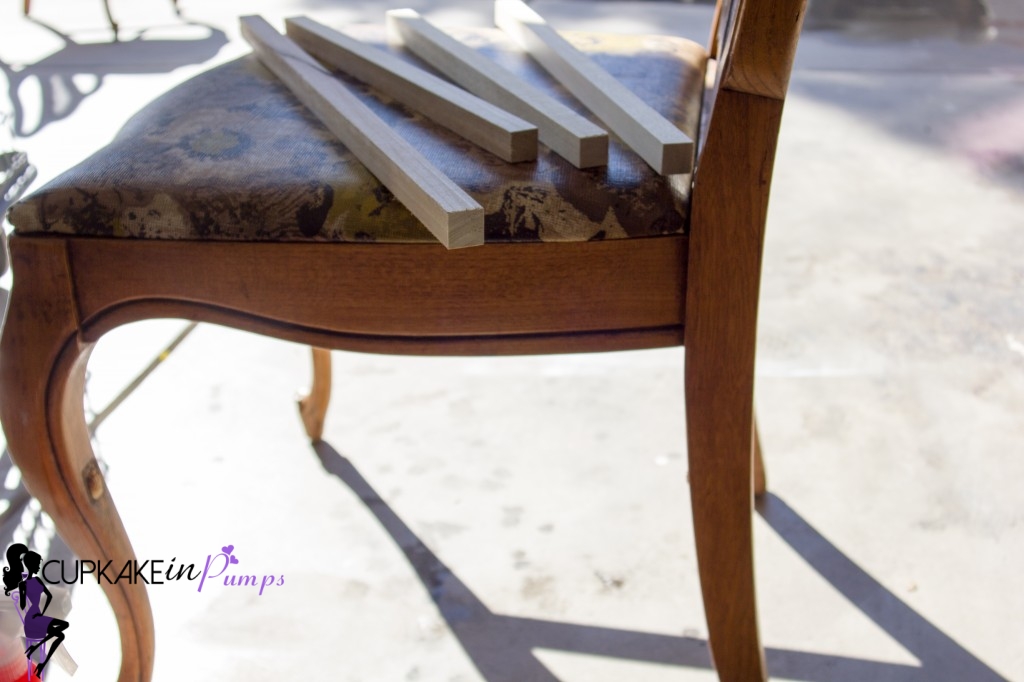
As you will see below, one of the chairs was missing the support at the bottom. The hubs measured the other side that was still intact and brought the size we needed to the home depot to get some wood cut. Then just add some cement glue to the ends of the wood and place it on the chair. Let it dry for at least 48 hours before you start painting (reason being, the glue is going to drip, you will have to refill it over the hours to create a nice sturdy fill).